In modern technological setups, whether in a small office, a home network closet, or a data – intensive server room, efficient space utilization is crucial. The 6U wall mount equipment rack has emerged as a popular solution to meet this need, offering a compact and organized way to house various electronic devices.
Design and Structure
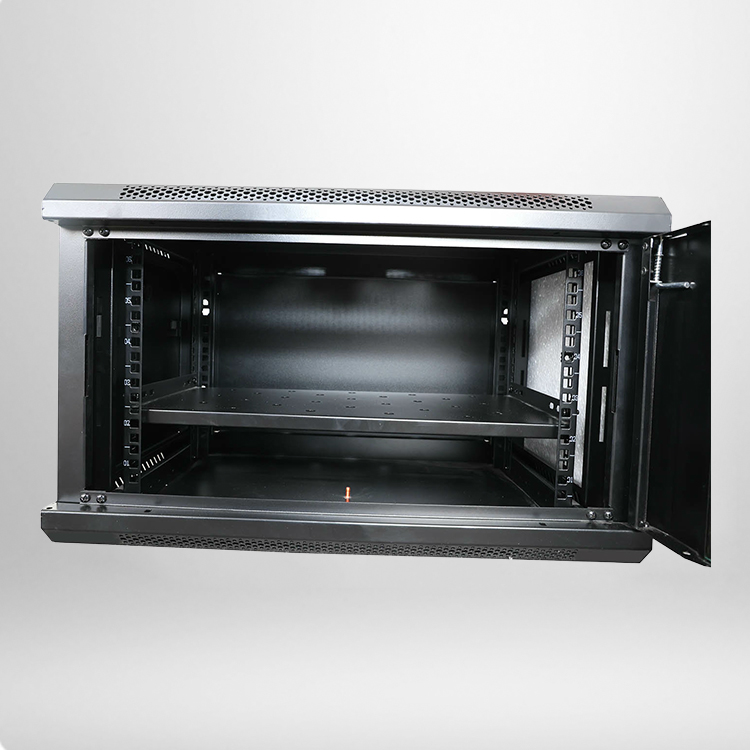
A 6U wall mount rack typically features a sturdy frame made of high – quality steel. The “6U” refers to the vertical space available in the rack, with each “U” being equivalent to 1.75 inches (44.45 mm). This standard measurement allows for easy compatibility with a wide range of 19 – inch rack – mountable equipment, such as network switches, routers, patch panels, and small servers.
The frame is designed to be mounted securely on a wall, either through pre – drilled holes and wall – mounting brackets or in some cases, using more specialized mounting systems. Some racks come with adjustable mounting rails, which can be slid horizontally to fit different – sized equipment, making the installation process more flexible. For example, if you have a small – sized router and a larger patch panel, the adjustable rails can be set to accommodate both without any hassle.
Airflow Management
Proper airflow is essential for the optimal performance and longevity of electronic equipment. 6U wall mount racks are designed with this in mind. Many racks feature perforated doors and side panels. The perforations allow air to circulate freely, preventing the build – up of heat inside the rack. Warm air rises, and the perforated top panels help it escape, while cool air is drawn in through the bottom panels or the perforated sides.
In addition, some more advanced 6U wall mount racks come with built – in fans. These fans can be either passive (driven by the natural convection of air) or active (powered by electricity). Active fans are particularly useful in environments where the equipment generates a significant amount of heat, such as in a server room with multiple high – performance switches. The fans can be set to a specific speed or can be controlled automatically based on the temperature inside the rack.

Cable Management
Cable clutter is a common problem in any setup with multiple electronic devices. A 6U wall mount rack helps in keeping cables organized. Most racks have cable management features such as cable routing channels, tie – down points, and cable holes. Cable routing channels are usually located at the sides or the back of the rack, allowing cables to be neatly guided from one device to another. Tie – down points, which can be in the form of small hooks or loops, are used to secure cables in place, preventing them from tangling or falling. Cable holes are strategically placed to allow for easy entry and exit of cables, whether they are power cables, network cables, or other types of connections.
For example, in a home network setup with a router, a switch, and a few access points mounted on a 6U wall mount rack, the cables can be routed through the channels and tied down at the appropriate points. This not only makes the setup look neater but also makes it easier to troubleshoot any cable – related issues.
Security Features
Security is an important aspect when it comes to protecting valuable electronic equipment. Many 6U wall mount racks come with locking mechanisms. The front door of the rack can be locked, preventing unauthorized access to the equipment inside. Some racks also have lockable side panels, adding an extra layer of security. This is particularly important in commercial settings, such as offices or data centers, where sensitive data is being processed and stored on the equipment in the rack. In addition, the sturdy construction of the rack itself acts as a deterrent to physical damage or tampering.
Installation and Setup
Installing a 6U wall mount rack is relatively straightforward. First, you need to select a suitable location on the wall. The location should be easily accessible for maintenance and should be able to support the weight of the rack and the equipment it will hold. Once the location is chosen, the wall – mounting brackets are attached to the wall using appropriate screws or anchors. Then, the rack frame is attached to the brackets.
After the rack is mounted, the equipment can be installed. The adjustable mounting rails, if available, are set to the appropriate width for the equipment. The equipment is then slid into place and secured using screws or cage nuts. Finally, the cables are connected and managed using the cable management features of the rack.