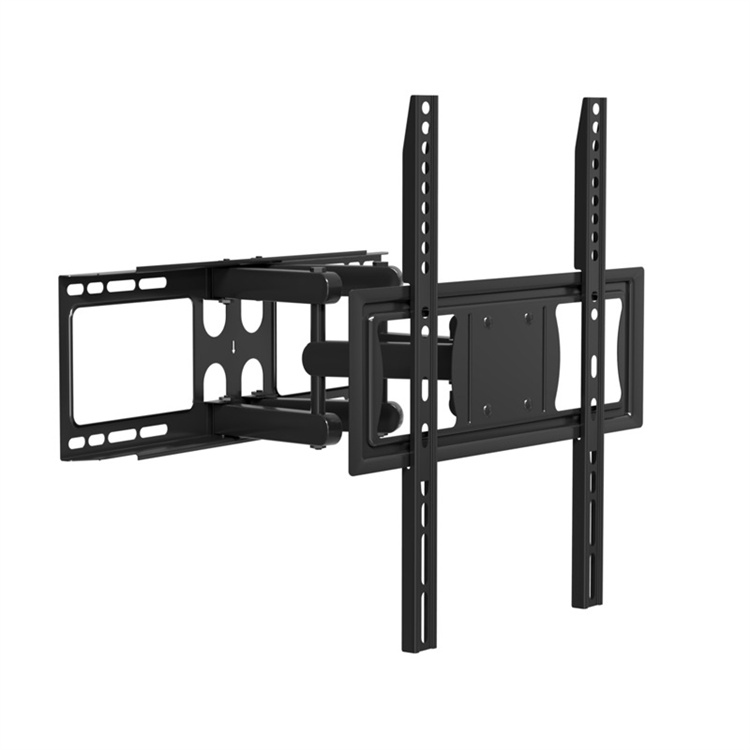
It is one of those small details that many people overlook, but picking the wrong screw can scratch the casing, strip the threads, or even push through the back panel and ruin the display. A TV bracket only works safely when paired with fasteners that match both the TV’s rear mounting holes and the wall material. This article walks you through standard sizes, how to measure correctly, and what to avoid during your home mounting job.
Standard VESA Screw Reference Table
Most modern flat-screen TVs follow the VESA mounting standard, which defines the hole spacing and matching screw specifications. The table below covers the most common combinations for indoor residential use. This table works as a starting guide, not a replacement for your TV’s official manual.
| VESA Pattern | Typical TV Size | Screw Thread | Common Working Length | Notes |
|---|---|---|---|---|
| 75×75 mm / 100×100 mm | Up to 32 inches | M4 | 8–12 mm | Small lightweight monitors and compact TVs |
| 200×200 mm / 300×200 mm | 32–50 inches | M6 | 10–18 mm | Most mid-range LED and QLED models |
| 300×300 mm / 400×400 mm | 50–70 inches | M6 or M8 | 14–22 mm | Heavier televisions with deeper mounting bosses |
| 600×400 mm or larger | 65 inches and above | M8 | 16–25 mm | Large OLED and high-weight panels |
The length number is critical. A screw that is too long will bottom out inside the TV’s threaded insert and apply pressure to internal components. When you add washers, spacers or the metal plate of the TV bracket, you need to add that thickness to your measurement before selecting the final screw length. Spacers are often needed when the TV’s rear casing is curved or when ports sit too close to the mounting holes.

Two Different Groups Of Fasteners
Screws That Connect The TV To The Bracket
These are the machine screws that thread directly into the four holes on the back of the television. They are always M4, M6 or M8 for standard VESA sets. Never force a larger thread into a smaller hole, as this will destroy the internal threads and leave the TV unsafe to mount.
Many TV bracket kits come with a mixed hardware pack containing all three sizes, plus washers and plastic spacers. That is convenient, but you still need to test carefully. A good habit is to hold the screw up to the hole before tightening; if it stops turning with gentle hand pressure, do not use a power drill to force it further.
Wall Anchors And Lag Bolts For The Wall
This is the second set of fasteners, and it is separate from the VESA screws. These hold the bracket plate to the wall, and they change completely depending on what your wall is made of. Wood studs are the safest option, using lag bolts with flat washers. Drywall alone cannot support heavy TVs, so toggle bolts or snap toggle anchors are only suitable for smaller screens. Brick and concrete walls need concrete sleeve anchors. The wall fastener choice matters just as much as the TV-side screws, and weak wall fixings are the top cause of fallen mounted TVs.
Frequently Asked Questions
Can I reuse random screws from my toolbox for mounting?
It is not recommended. Ordinary wood screws have different thread shapes and hardness, and they may not sit fully inside the VESA holes. Even if they seem to fit, they can loosen over time. Use the metric machine screws designed for VESA mounting.
What if the screws included with my TV bracket do not fit my TV?
This is a common situation. Some manufacturers use non-standard thread depths or custom hole spacing. Check your TV user manual first for the exact screw size and maximum permitted length. If the kit parts do not match, buy a separate VESA hardware kit from a hardware store rather than improvising.
Do I always need washers and spacers?
Washers help spread pressure and stop the screw head from digging into the metal bracket surface. Spacers are only needed when the back of the TV is raised, curved, or when HDMI and power plugs would be blocked by the bracket. Do not stack extra spacers unless the gap is required, because this reduces how many threads engage.
How do I check if a screw is too long before tightening?
One simple test: insert the screw by hand without the bracket or spacers. Mark the depth it reaches, then add the thickness of the bracket and any spacers. If the total length exceeds the safe depth listed in the manual, choose a shorter screw. This quick check prevents expensive panel damage.
Final Practical Advice
Before you start drilling, take five minutes to confirm three things: the VESA pattern printed on the back of your TV, the thread size marked in the manual, and the material of your wall. The TV bracket itself may be well built, but the whole installation relies on correctly matched fasteners.